Get ready for your roofing project by prepping the roof deck, ensuring safety, and checking permits. Select high-quality materials like shingles, nails, and safety gear. Prepare the roof deck by cleaning and addressing weak spots. Lay underlayment carefully, considering materials and waterproofing. Keep moisture at bay with proper barriers and ventilation. Install shingles meticulously, securing with nails and trimming as needed. Place flashing and vents correctly for water drainage. Conduct a thorough final inspection to catch any issues. Follow this guide for a successful roofing installation experience.
Roofing Preparation

Prior to commencing the roofing installation process, make sure that the roof deck is clean and free of any debris or obstructions that may hinder the installation. Safety measures are paramount during this phase. Confirm that the weather conditions are suitable for the work ahead, avoiding installation during rainy or windy days. It's also vital to check if any roofing permits are required in your area before starting the project. Failure to obtain the necessary permits can result in fines or halting the work. If you are not confident in your roofing skills, consider hiring a professional contractor with experience in roof installations. Contractors have the expertise to handle the job efficiently and safely. By hiring a reputable contractor, you can rest assured that the installation will be done correctly and up to code. Taking these steps before beginning the roofing process will set a solid foundation for a successful installation.
Materials and Tools Needed
You must make sure you have all the required materials listed and essential tools needed for the roofing installation. Having the correct materials and tools will streamline the process and help you achieve a professional outcome. Double-check your inventory to avoid interruptions during the installation.
Required Materials List
To successfully complete the roofing installation process, you will need a specific list of materials and tools to guarantee efficiency and accuracy. When it comes to material sourcing and budget planning, it's important to choose high-quality roofing materials that fit within your financial constraints. Prioritize safety precautions during the entire process to prevent accidents and ensure a smooth installation. Additionally, consider the environmental impact of the materials you select; opt for eco-friendly options whenever possible to minimize harm to the environment.
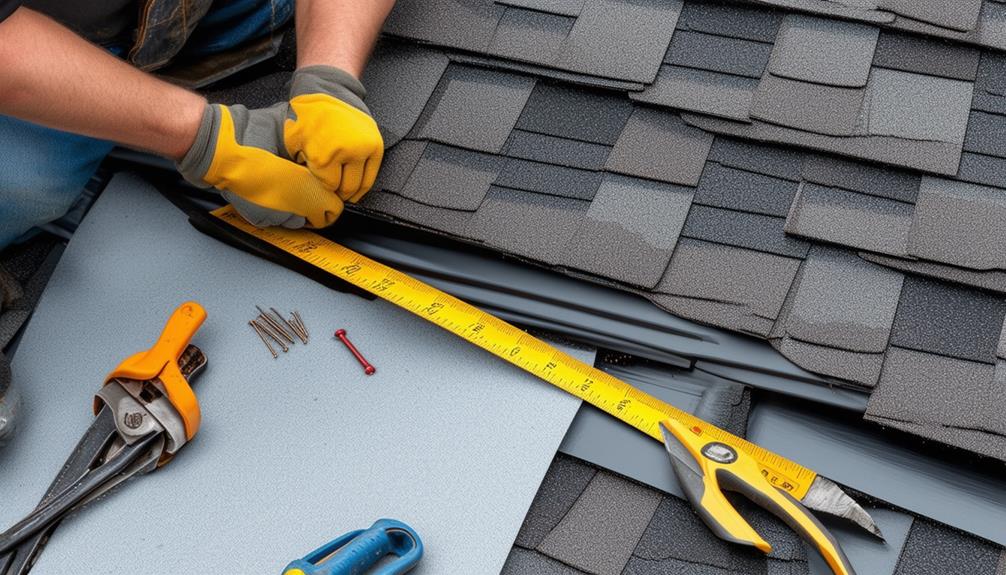
For the roofing materials, you will need items such as shingles, underlayment, flashing, nails, and sealant. The quantity will depend on the size of your roof, so calculate the required amount accurately. Safety equipment like gloves, goggles, a hard hat, and sturdy footwear is vital to protect yourself during installation. Make sure to have a ladder, hammer, utility knife, tape measure, and a roofing nail gun on hand for a seamless installation process.
Essential Tools for Installation
Gather the essential tools needed for roofing installation to guarantee a smooth and efficient process. Safety precautions are paramount, so make sure you have a sturdy ladder, harnesses, and non-slip footwear. Roofing techniques require precision, so equip yourself with a claw hammer, utility knife, and a nail gun for fastening shingles securely. Additionally, a chalk line, tape measure, and roofing square are essential for accurate measurements and alignment.
Consider weather conditions during installation. Have a roofing nailer handy for quicker work during fair weather, and tarps or plastic sheeting to cover the roof in case of unexpected rain. Regular roofing maintenance is key to longevity, so include a roofing brush to clear debris and a caulking gun for sealing gaps.
Prioritize your safety and efficiency by gathering these tools before starting the roofing installation process. With the right equipment at your disposal, you can navigate through the project smoothly while ensuring the roof's durability and structural integrity.
Roof Deck Preparation

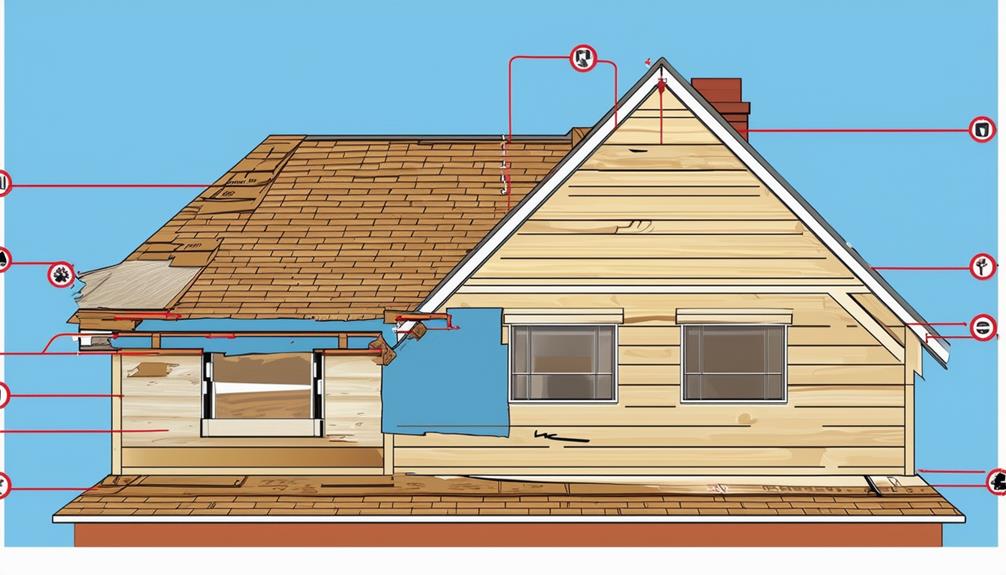
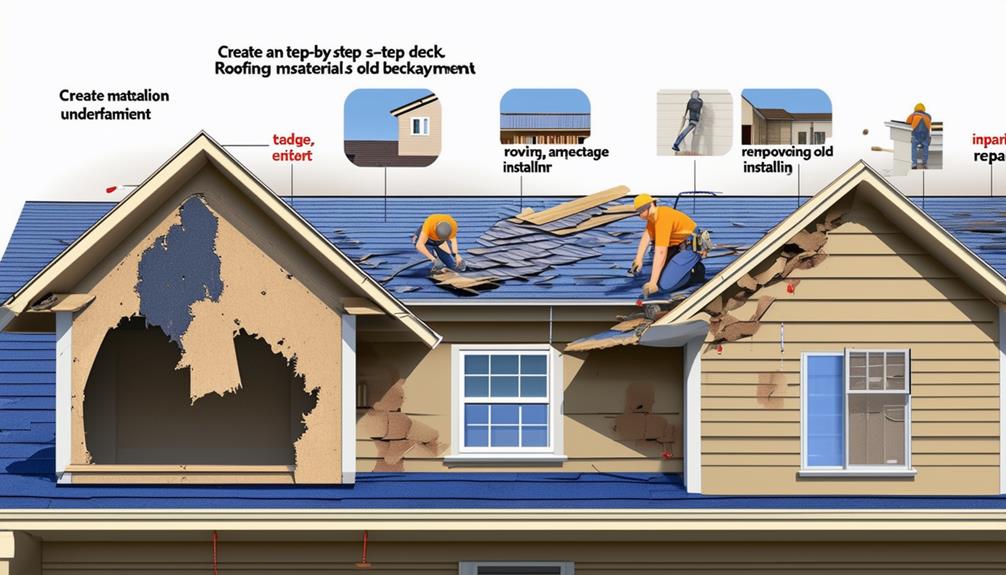
Prepare the roof deck by making sure it is structurally sound, free of any rot or damage, and properly secured before proceeding with the installation process. Proper roof deck preparation is essential to the longevity and effectiveness of your roofing system. Here are some key steps to follow:
- Deck Protection: Safeguard your roof deck by inspecting for any signs of wear, water damage, or weak spots that could compromise the integrity of the new roof.
- Moisture Prevention: Check for any existing moisture issues or leaks that could lead to future problems. Addressing moisture concerns before installation is critical to prevent mold growth and structural damage.
- Secure Fastenings: Confirm all fastenings, such as nails or screws, are tightly secured to prevent any movement or shifting of the roof materials.
- Remove Debris: Clean the roof deck thoroughly, removing any debris, dirt, or old roofing materials that could affect the new roof's installation and performance.
Following these steps will help create a solid foundation for your new roof and contribute to its durability and functionality over time.
Underlayment Installation
When it comes to underlayment installation, you need to pay close attention to material selection tips for best performance. Proper laying techniques are essential to guarantee the underlayment functions effectively. Don't forget to contemplate waterproofing measures to enhance the longevity of your roof.
Material Selection Tips
To ensure a successful underlayment installation, carefully consider the material selection based on your specific roof requirements. When choosing underlayment materials, it is important to weigh the following factors:
- Cost-effective Options: Look for underlayment materials that offer a balance between cost and quality. Consider long-term savings versus upfront expenses.
- Durability Factors: Opt for materials that can withstand the elements and provide lasting protection to your roof structure.
- Environmental Impact: Choose underlayment materials that are eco-friendly and sustainable to lessen the environmental footprint of your roofing project.
- Aesthetic Appeal: While functionality is key, also consider how the underlayment material will complement the overall look of your home.
Proper Laying Techniques
Begin the underlayment installation process by making sure that the surface is clean and free of any debris or obstructions. Before laying the underlayment, it is important to understand proper shingle cutting techniques to guarantee a precise fit and weatherproof seal. When cutting shingles, use a utility knife or specialized shingle cutter for accuracy.
Proper flashing placement is essential for a watertight roof. Install flashings around roof penetrations and along the edges to prevent water infiltration. Make sure that the flashing extends over the shingles to direct water away from vulnerable areas.
Weatherproofing tips are essential to protect your roof from the elements. Overlap the underlayment correctly to create a barrier against moisture. Additionally, consider the roof pitch when installing underlayment. For low-slope roofs, use self-adhesive underlayment to prevent water pooling.
Roof pitch considerations are important for underlayment installation. Install underlayment perpendicular to the eaves on steep roofs to prevent water from seeping underneath. Following these laying techniques will help ensure a durable and weather-resistant roof.
Waterproofing Considerations
Pay close attention to waterproofing considerations during the underlayment installation process to safeguard your roof against potential moisture damage. To guarantee effective waterproofing, consider the following:
- Drainage Solutions: Properly directing water away from the roof surface is vital in preventing water accumulation that can lead to leaks. Implementing effective drainage systems such as gutters and downspouts is essential.
- Weatherproofing Techniques: Utilize weather-resistant materials and techniques to protect your roof from the elements. This includes choosing underlayment that can withstand harsh weather conditions.
- Sealant Application: Apply sealants meticulously around roof penetrations, edges, and seams to create a watertight barrier. Regularly inspect and maintain these sealants to prevent water infiltration.
- Moisture Protection Strategies: Incorporate moisture barriers and vapor retarders in areas prone to humidity to prevent condensation and moisture buildup within the roofing system.
Shingle Installation Process

Start by making sure the roof deck is clean and free of any debris before beginning the shingle installation process. Choose shingles that complement your home's aesthetics by considering color selection. Weather protection is vital, so use quality underlayment to shield against moisture. Begin at the eaves, overlapping shingles as per manufacturer guidelines. Secure each shingle with nails, making sure they penetrate the roof deck for stability.
When installing the second row, offset the shingles to prevent water infiltration. Trim the last shingle on each row to fit appropriately. For corners and edges, cut shingles to size accurately. Ensure the ridge cap shingles are securely fastened to finalize the installation. Throughout the process, inspect for any loose or misaligned shingles and rectify immediately.
Properly installing shingles is essential for a durable and visually appealing roof. By focusing on color selection and weather protection, you can achieve both functionality and aesthetic appeal.
Flashing and Vent Installation
To guarantee proper water drainage and ventilation, meticulously install flashing and vents as integral components of your roofing system. Proper installation of flashing and vents is vital for securing your roof's longevity and performance. Here are some key points to keep in mind:
- Ventilation Options: Explore various ventilation options such as ridge vents, soffit vents, and gable vents to maintain a balanced airflow in your attic space.
- Weatherproofing Techniques: Implement weatherproofing techniques like using ice and water shields along the eaves and valleys to prevent water infiltration.
- Flashing Types: Choose from different flashing types like drip edge flashing, step flashing, and vent pipe flashing to prevent water seepage at vulnerable areas.
- Installation Tips: Ensure that flashing overlaps correctly, is securely fastened, and that vents are properly sealed to prevent leaks and maintain the integrity of your roofing system.
Final Roof Inspection

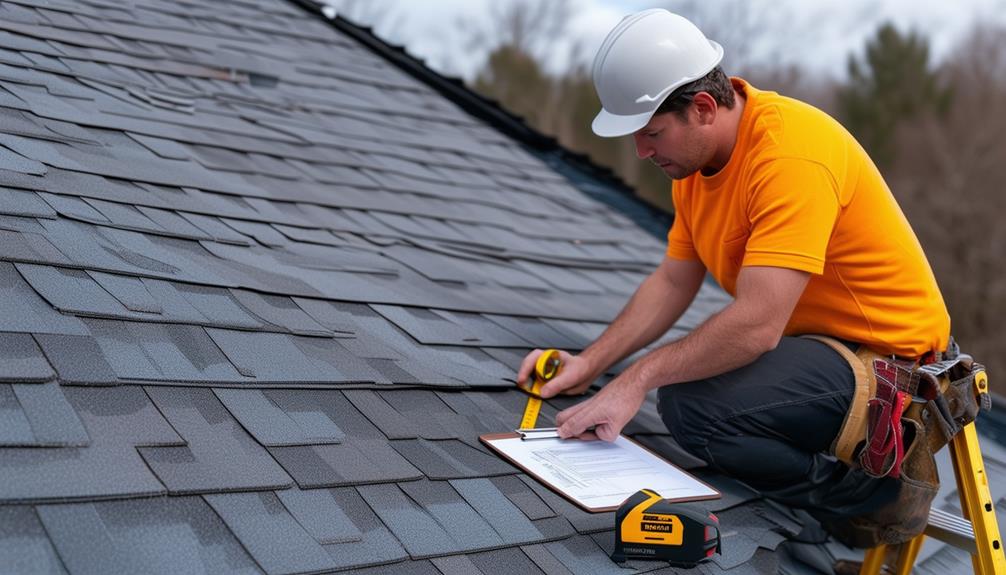
Conduct a thorough final inspection of the roof to guarantee all components are properly installed and meet quality standards. Begin by checking the flashing around vents, chimneys, and other protrusions to make sure they are securely in place and sealed correctly. Look for any signs of damage or improper installation that could lead to water leaks. Inspect the shingles for any cracks, curling, or missing pieces. Pay close attention to the valleys and ridges where water tends to flow, as these areas are more prone to wear and tear.
For maintenance tips, consider scheduling regular roof inspections to catch any issues early on. Repair options may include fixing damaged shingles, resealing flashing, or replacing worn-out components. Common issues to watch out for include leaks, mold growth, and sagging areas. Preventive measures like keeping gutters clean and trimming overhanging branches can help extend the life of your roof. By staying proactive and addressing problems promptly, you can avoid costly repairs down the line.
Frequently Asked Questions
What Should I Do if It Starts Raining During the Roofing Installation Process?
If it starts raining during the roofing installation process, implement a rain delay immediately. Seek emergency shelter to guarantee safety. Protect any wet materials to prevent damage. Take necessary safety precautions to avoid accidents due to slippery conditions. Resume work only when the weather clears up and the roof surface is dry. Prioritize safety and quality to secure a successful roofing installation despite unexpected weather challenges.
Can I Install New Shingles Over the Existing Ones on My Roof?
You can install new shingles over existing ones, but it's generally best to remove the old shingles first. Shingle removal allows for a proper inspection of the roof deck and guarantees the weight capacity isn't exceeded. While overlaying shingles can save time and money, it may void warranties, result in uneven surfaces, and make future repairs more challenging. Inspecting the roof thoroughly is essential to determine the best course of action.
How Can I Tell if My Roof Deck Needs to Be Replaced Before Installation?
Imagine your roof deck as the sturdy foundation of a house. To inspect if it needs replacement, look for signs of a deteriorating roof deck like sagging, water damage, or rot. Check for soft spots, mold growth, or visible sunlight from inside. If you notice any of these issues, it's essential to replace the roof deck before installing new shingles to guarantee a strong and long-lasting roofing system.
Are There Any Special Considerations for Installing a Roof in Extreme Weather Conditions?
When installing a roof in extreme weather, consider the challenges each condition presents. In snowy or windy conditions, guarantee proper insulation and fastening to prevent leaks and damage. During summer heat, work during cooler times of the day and stay hydrated. Heavy rain demands efficient drainage systems to avoid pooling water. Adapting your installation techniques to these conditions will result in a more durable and functional roof.
How Long Does It Typically Take to Complete a Roofing Installation on a Standard-Sized Home?
On average, a roofing installation for a standard-sized home takes about 3-5 days. The roofing installation timeline may vary based on factors like weather conditions and the complexity of the project. Material cost breakdown for a typical project includes expenses for shingles, underlayment, flashing, and other necessary materials. It's important to take into account these aspects when planning your roofing installation to guarantee a smooth and efficient process.
Conclusion
Congratulations on completing your roofing installation! Just like a puzzle coming together, each step was essential in creating a strong and secure roof for your home. Remember to always prioritize safety and attention to detail throughout the process. Now sit back, relax, and enjoy the peace of mind knowing your roof is properly installed and ready to protect your home for years to come.


