Starting on a roof replacement? Begin with a thorough roof inspection. Check for missing, cracked shingles and water damage. Select the right materials considering cost and longevity. Secure necessary permits and understand local regulations. Nail down the roofing contract detailing work scope and warranties. Schedule the replacement with care, keeping an eye on weather. Prep the work area, clear debris, and guarantee safety measures. Remove old materials efficiently with a disposal plan. Install the new roof with proper techniques and ventilation. Inspect for quality, adherence to code, and address any issues promptly. Finish with a clean-up, final inspection, and maintenance tips.
Initial Roof Inspection
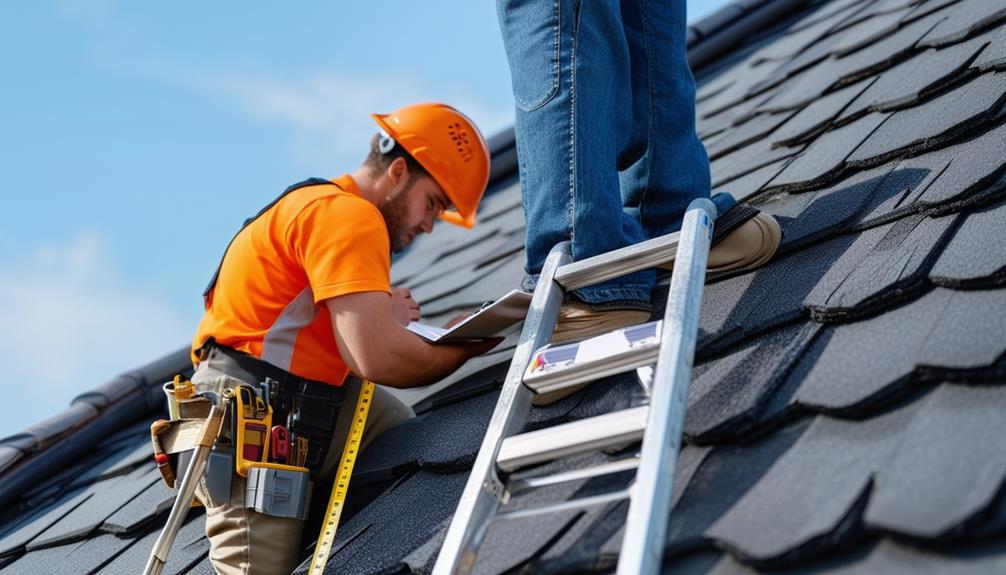
Before beginning the roof replacement process, conduct a thorough initial inspection to assess the condition of the existing roof structure. This step is vital to identify any underlying issues that need to be addressed before moving forward with the replacement. Start by examining the roof for missing, cracked, or curling shingles, as well as signs of water damage such as leaks or stains on the ceiling. Check the gutters and downspouts for debris or clogs that could lead to water buildup and potential damage. Additionally, inspect the flashing around chimneys, vents, and skylights to ensure they are secure and watertight. Pay close attention to any areas that show sagging or structural weaknesses, as these could indicate significant issues that need immediate repair. Identifying these roof replacement warning signs early can help prevent further damage and ensure the new roof installation is durable and long-lasting. Taking the time to evaluate the roof’s overall condition thoroughly will provide a solid foundation for a successful replacement project. Addressing these concerns during the initial inspection not only ensures a smoother roof replacement process but also helps avoid costly repairs down the line. By recognizing the signs you need roof replacement, such as persistent leaks or extensive shingle damage, you can take proactive steps to protect your home and investment. A detailed evaluation sets the stage for a durable, efficient, and high-quality roof replacement that meets your long-term needs.
When performing this inspection, it is beneficial to consult with roofing companies or professionals who can provide expert advice on maintenance tips specific to your roof type and geographical location. These professionals can offer insights on how to prolong the lifespan of your roof and prevent future issues that may arise. By taking the time to conduct a thorough initial inspection, you can make sure that your roof replacement process goes smoothly and results in a structurally sound and long-lasting roof.
Choosing Roofing Materials
Careful evaluation of your roofing material options is crucial to ensure you select the most suitable choice for your specific needs and budget. When choosing roofing materials, conducting a cost comparison between different options is vital. Take into account not only the initial cost but also factors like maintenance and longevity to determine the most cost-effective solution in the long run. Additionally, consider the environmental impact of the materials you're considering. Some materials are more sustainable and energy-efficient than others, which can help in reducing your home's overall carbon footprint. Different types of roofing materials, such as asphalt shingles, metal, clay tiles, and wood, each come with their own set of advantages and drawbacks. It’s important to assess how well these materials align with your climate, aesthetic preferences, and structural requirements. By thoroughly understanding the types of roofing materials available, you can make a well-informed decision that balances functionality, durability, and sustainability for your home. Proper research and planning can save you from costly mistakes and potential issues in the future. Seeking professional advice and exploring roofing tips for homeowners can also provide valuable insights to guide you in making the best decision. Remember, investing time and effort in choosing the right roofing material not only enhances your home’s protection but also adds significant value to your property over time.
Asphalt shingles are a popular choice due to their affordability and ease of installation, but they have a shorter lifespan compared to materials like metal or tile. Metal roofing>, while initially more expensive, is durable and offers better energy efficiency. Tile roofing provides a unique aesthetic appeal and is known for its longevity, making it a cost-effective option over time. By weighing the cost comparison and environmental impact of different roofing materials, you can make an informed decision that aligns with your needs and values.
Obtaining Permits
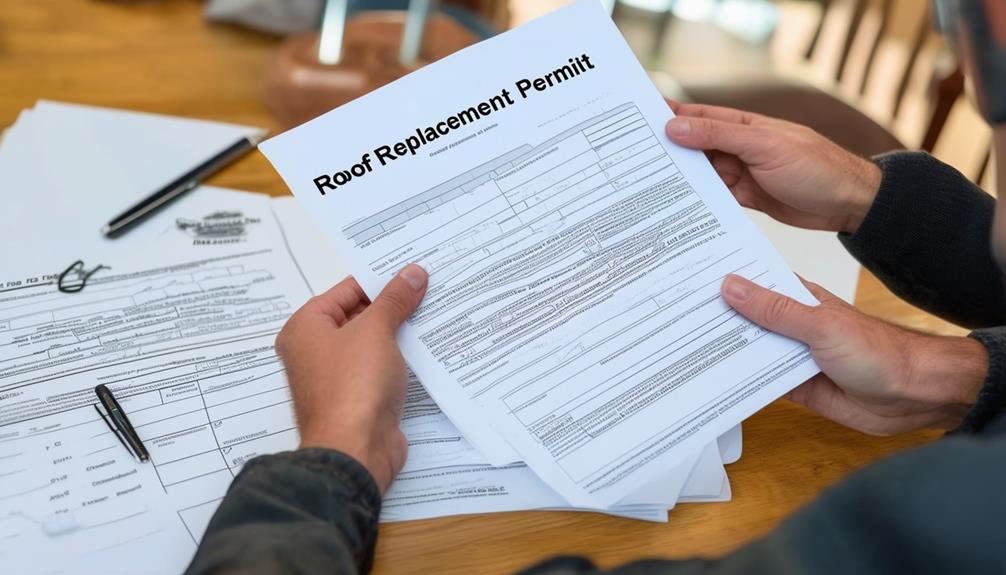
When obtaining permits for your roof replacement, you will need to navigate the permit application process efficiently. Make sure to gather all the required documentation as per the checklist provided by your local municipality. Familiarize yourself with the approval timelines to guarantee a smooth progression through this pivotal step in your roof replacement project.
Permit Application Process
To kickstart the roof replacement process, the initial crucial step involves submitting an application for the necessary permits required by your local building department. The permit application process typically entails filling out forms provided by the building department, detailing the scope of work to be done, and paying the associated fees. Once your application is submitted, the approval process begins, which can vary in duration depending on the complexity of the project and the workload of the building department.
During the approval process, the building department will review your application to make sure it complies with local building codes and regulations. If everything meets the requirements, the permit will be issued, allowing you to proceed with the roof replacement. It's important to adhere to the inspection timelines specified by the building department to ensure that the work is progressing according to the approved plans. Failure to comply with inspection timelines can result in delays or even fines. By following the permit application process diligently, you can smoothly move forward with your roof replacement project.
Required Documentation Checklist
Collecting all necessary documents listed on the required documentation checklist is essential to guarantee a smooth process when obtaining permits for your roof replacement project. Ensuring that you have all the required paperwork ready before submitting your documentation is vital for a hassle-free permit application process. Here is a checklist to guide you through the documentation submission:
- Proof of property ownership or authorization from the property owner.
- Detailed roof replacement plans and specifications.
- Contractor license and insurance information.
- Energy efficiency compliance documentation.
- Any historical or conservation permits if applicable.
Municipal Approval Timelines
Once you have gathered all the necessary documentation for your roof replacement project, the next step is to navigate the municipal approval timelines for obtaining permits. The approval process for permits can vary depending on your local regulations and requirements. It is important to familiarize yourself with these regulations to avoid delays in your project timeline.
To kick off the process, contact your local municipal office to inquire about the specific permits needed for your roof replacement. Some common permits may include a building permit and a roofing permit. Each permit may have its own set of requirements and fees, so make sure to ask for clarity on these aspects.
After submitting your permit applications, the approval process begins. Municipalities typically have specific timelines for reviewing and approving permits. Delays can occur if the documentation is incomplete or does not meet the local regulations. It is essential to double-check all paperwork before submission to ensure a smooth approval process. By staying organized and proactive in addressing any issues that may arise, you can help prevent unnecessary delays in obtaining the permits needed for your roof replacement project.
Roofing Contract and Agreement
Make sure that the roofing contract and agreement clearly outlines the scope of work, materials to be used, project timeline, and payment terms to avoid any misunderstandings or disputes during the roof replacement process. When negotiating the contract, pay close attention to legal obligations and warranties to make certain both parties are protected. Here are some key points to contemplate in the roofing contract: Additionally, ensure the contract includes a plan for addressing any unexpected issues that may arise, such as common roofing problems and fixes, to prevent delays or additional costs. It’s also wise to verify that the contractor provides proof of insurance and licensing, offering peace of mind that the work will be performed professionally and safely. By prioritizing these elements, you can foster a transparent and productive working relationship with your roofing contractor.
- Scope of Work: Clearly define the tasks to be completed, such as removal of old shingles, installation of new roofing materials, and cleanup.
- Materials: Specify the type and quality of materials to be used, including brands if applicable.
- Project Timeline: Set a realistic timeline for the completion of the roof replacement project.
- Payment Terms: Outline the total cost, payment schedule, and any deposit requirements.
- Warranties: Detail the warranties provided by the contractor for workmanship and materials.
Scheduling the Replacement
When planning the roof replacement, make sure to coordinate the scheduling of the project with the roofing contractor to establish a timeline for the work to commence. Reach out to the roofing contractor well in advance to discuss their availability and secure a slot that aligns with your needs. Consider the weather conditions in your area when scheduling the replacement. It's important to choose a time when the weather is expected to be favorable, as rain or extreme temperatures can delay the project.
The roofing contractor will work with you to determine the best dates for the replacement, taking into account their workload and the estimated duration of your project. Once a mutually agreed upon schedule is set, make certain that all parties involved are clear on the start date and timeline. Effective communication and planning during this stage will help streamline the roof replacement process and minimize any potential disruptions to your daily routine. This collaborative approach not only ensures a smoother process but also helps identify any specific needs or concerns regarding the project beforehand. Additionally, if there were previous indications, such as leaks, missing shingles, or other signs you need roof repairs, be sure to address them with the contractor prior to starting the replacement. Being proactive about discussing these details can improve the overall outcome and ensure your roofing system is both durable and reliable for years to come. This preparation phase is also an excellent opportunity to ask any lingering questions and clarify expectations regarding the project’s scope and materials being used. If you’re uncertain about when to call for roof repairs in the future, your contractor can provide valuable insights and maintenance tips to help you catch issues early. By fostering this proactive dialogue, you can ensure the replacement process addresses current problems and lays the foundation for a resilient roof that protects your home effectively.
Preparing the Work Area
Coordinate with the roofing contractor to make sure that the work area is properly prepared before the roof replacement project begins. This important step sets the foundation for a smooth and safe roofing process. Here's how to prepare the work area effectively:
- Inspect the Site: Assess the area for any potential hazards or obstacles that could affect work safety.
- Clear the Surroundings: Remove any debris, furniture, or vehicles near the work zone to provide ample space for the roofing crew.
- Secure Equipment: Organize tools and equipment in a designated area to prevent tripping hazards and streamline the workflow.
- Establish Safety Measures: Set up caution signs, barriers, and safety cones to alert individuals about the ongoing work and ensure a safe environment.
- Communicate Work Area Boundaries: Inform household members or neighbors about restricted areas to avoid accidental entry during the roof replacement.
Removing Old Roofing Materials
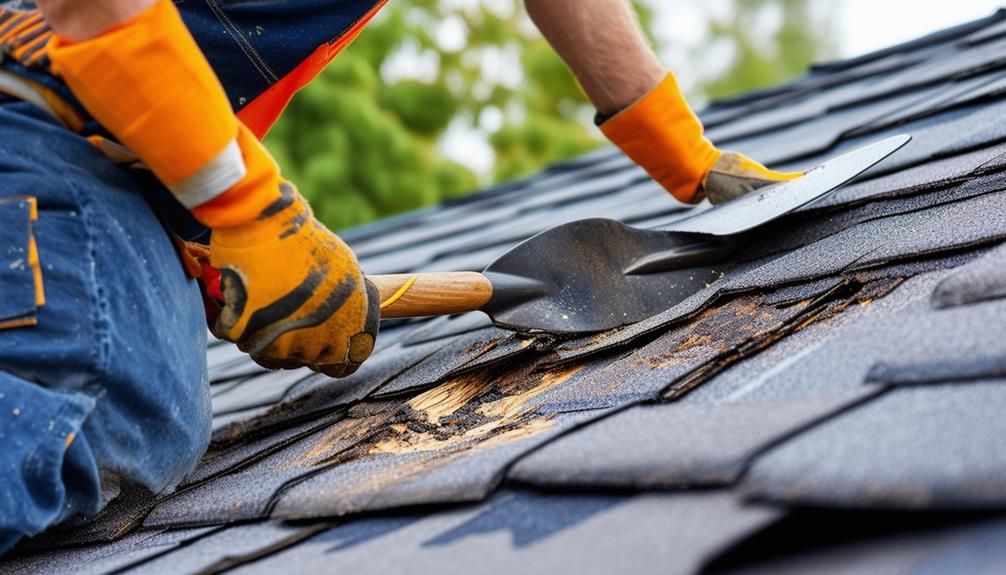
Examining the old roof is essential to identify any underlying issues that need attention before proceeding. Develop a disposal plan to efficiently remove the old roofing materials, ensuring proper waste management and compliance with regulations. By carefully evaluating and planning these initial steps, you set a solid foundation for a successful roof replacement project.
Old Roof Inspection
Begin the process of old roof inspection by carefully evaluating and removing the existing roofing materials. When inspecting the old roof, consider the following:
- Roof Condition Assessment: Evaluate the overall condition of the roof to identify any signs of damage or wear.
- Roof Maintenance: Check for any areas that may have been neglected or require maintenance to prevent further issues.
- Roofing Inspection: Inspect the roof structure for any signs of weakness or damage that may impact the new roof installation.
- Repair Recommendations: Note down any repairs that need to be addressed before installing the new roof to establish a stable foundation.
- Safety Precautions: Prioritize safety by wearing appropriate gear, such as gloves and safety glasses, when removing old roofing materials.
Careful inspection and removal of the old roofing materials are important steps to guarantee a successful roof replacement process. By paying attention to detail during this phase, you set the foundation for a durable and long-lasting new roof.
Disposal Plan
When it comes to the roof replacement process, efficient removal and disposal of old roofing materials is a key aspect that guarantees a smooth shift to installing a new roof. Proper waste management is essential not only for a tidy worksite but also to minimize the environmental impact of the project.
To begin the disposal process, the old roofing materials such as shingles, underlayment, and any damaged decking will be carefully removed from the roof. These materials will then be loaded into designated waste containers or dumpsters. It's important to make sure that these containers are securely covered to prevent debris from scattering and causing potential hazards.
Once the containers are filled, the waste management team will transport them to appropriate facilities for disposal. Recycling options should be considered whenever possible to reduce the amount of waste ending up in landfills. By implementing a well-thought-out disposal plan, you can contribute to a more sustainable roofing project with minimal environmental impact.
Installing New Roof
To properly install a new roof, make sure that all old roofing materials have been removed and the roof deck is clean and free of debris. When installing a new roof, consider the following: To properly install a new roof, make sure that all old roofing materials have been removed and the roof deck is clean and free of debris. When installing a new roof, consider the following: Ensure that a high-quality underlayment is applied to protect the roof deck from moisture and leaks. Next, carefully align and secure the shingles or roofing materials according to the manufacturer’s guidelines. The roof installation process explained involves meticulous attention to detail, ensuring proper ventilation and sealing to enhance the roof’s durability and lifespan.
- Roofing Installation Techniques: Choose the appropriate technique based on the type of roofing material being used. Techniques may vary for asphalt shingles, metal roofs, or tile roofs.
- Cost-effective Roofing Solutions: Explore different roofing materials that offer durability and value for money. Consider options like asphalt shingles or metal roofing for cost-effective solutions.
- Proper Underlayment Installation: Guarantee the underlayment is correctly installed to provide an additional layer of protection against water infiltration.
- Flashing Installation: Properly install flashing around roof penetrations and edges to prevent water leaks and enhance the roof's durability.
- Ventilation Considerations: Adequate ventilation is essential for the longevity of the roof. Install vents to promote air circulation and prevent moisture buildup.
Following these steps will help you successfully install a new roof that is durable and long-lasting. Start by preparing the surface properly and choosing high-quality materials to ensure a sturdy foundation for your roof. Additionally, familiarize yourself with common roofing issues and fixes, such as addressing leaks, replacing damaged shingles, or improving ventilation, to maintain the roof’s integrity over time. Routine inspections and proactive maintenance will further extend the lifespan of your new roof, keeping it in excellent condition for years to come. It’s important to start by selecting high-quality materials suitable for your home’s specific needs and climate conditions. Additionally, consider consulting experts or researching reliable roof repair tips and advice to ensure you’re prepared for any potential challenges during installation. Proper maintenance and inspections afterward will also help extend the lifespan of your new roof.
Inspecting and Quality Check
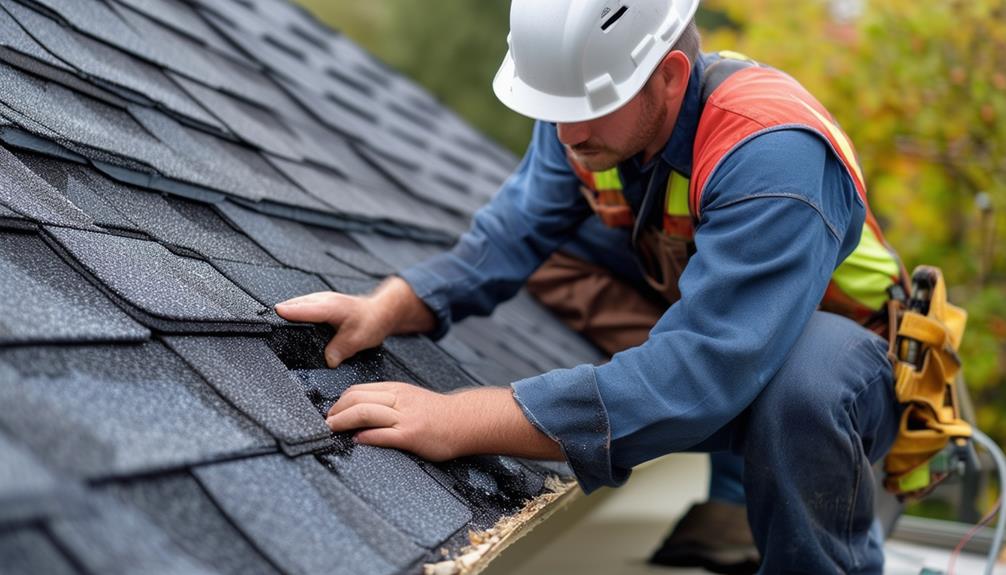
Carry out thorough inspection and quality checks are conducted throughout the roofing replacement process to guarantee a flawless installation. Quality control is a vital aspect of making sure that the new roof meets industry standards and provides long-lasting protection. Visual inspection plays a pivotal role in identifying any potential issues before they escalate, allowing for immediate resolution.
During the inspection phase, roofing professionals meticulously examine the materials, flashing, shingles, gutters, and overall structure for any signs of damage, improper installation, or defects. This step is essential in catching any issues early on and addressing them promptly to prevent future problems.
Quality checks are also performed to verify that the installation adheres to manufacturer guidelines and local building codes. This meticulous attention to detail ensures that your new roof not only looks great but also functions effectively in safeguarding your home against the elements.
Final Clean-Up and Inspection
Upon completing the roofing replacement process, the final step entails thorough clean-up and inspection to confirm the job has been executed to the highest standards. This phase is important in ensuring customer satisfaction and the longevity of the new roof. Here's what to expect during the final clean-up and inspection:
- Debris Removal: All debris, such as old shingles, nails, and packaging materials, will be cleared from the site.
- Gutter Cleaning: Gutters will be cleaned to prevent clogs and ensure proper drainage.
- Final Inspection: A detailed inspection will be conducted to verify the roof's integrity and adherence to quality standards.
- Post Installation Maintenance Tips: You will receive guidance on how to care for your new roof post-installation.
- Warranty Coverage Explanation: The contractor will explain the warranty coverage provided for your new roof, outlining what is included and any necessary steps to maintain coverage.
Completing the final clean-up and inspection not only marks the end of the roofing replacement process but also sets the stage for post-installation maintenance and warranty coverage. This step ensures that any minor issues are promptly addressed, preventing potential complications down the line. Regular inspections and maintenance after installation can significantly reduce the long-term cost of roof repairs by catching problems early. Ultimately, a well-executed clean-up and thorough inspection provide homeowners with peace of mind and confidence in the durability of their new roof. Additionally, this thorough final step provides homeowners with a clear overview of their roof’s condition and highlights any immediate concerns that need addressing. By staying proactive, homeowners can avoid common issues that might lead to a complete breakdown of roof repairs later. This comprehensive approach not only enhances the lifespan of the roof but also maximizes the value of the investment over time.
Frequently Asked Questions
Can I Stay in My House During the Roof Replacement Process?
During a roof replacement, you can stay in your house with some preparations. Consider temporary housing options if noise levels and safety precautions become concerning. Guarantee proper ventilation by opening windows and sealing off affected areas. Expect high noise levels during the process. Stay safe by following guidelines provided by your roofing contractor. If necessary, plan to relocate temporarily to make the process more manageable.
How Long Does a Typical Roof Replacement Take to Complete?
When it comes to roofing materials and the efficiency of the roofing crew, the timing of a typical roof replacement can vary based on several factors. Generally, a standard roof replacement might take anywhere from a few days to a week to complete. The type of materials being used, the size of the roof, and the weather conditions can all influence the duration of the project. In addition, the complexity of the roof’s design and the need for any structural repairs can further impact the timeline. It’s also important to consider the roof replacement cost breakdown, as factors like labor, materials, and disposal fees play a significant role in the overall expense. Understanding these elements can help homeowners plan both their budget and schedule more effectively.
Will My Homeowner's Insurance Cover the Cost of Roof Replacement?
Your homeowner's insurance may cover the cost of roof replacement, depending on your policy's specifics. There could be limitations on coverage, eligibility requirements, and a claims process to follow. Review your policy to understand what is included and excluded regarding roof replacement. Familiarize yourself with the claims process to make sure you meet all requirements for potential insurance coverage of your roof replacement expenses.
What Happens if It Rains During the Roof Replacement?
If it rains during the roof replacement, weather delays are common. Contractors will typically pause work to guarantee safety and prevent water damage to your property. The exposed area will be covered with protective materials to minimize any potential issues. Once the rain stops, the team will resume work promptly. It's important to prioritize safety and quality to avoid any water damage during the roof replacement process.
Do I Need to Do Anything to Prepare My Landscaping for the Roof Replacement?
To prepare your landscaping for the roof replacement, focus on landscaping protection and yard maintenance. Trim any overhanging branches that could interfere with the roofing process. Cover delicate plants near the work area to shield them from falling debris. Clear the yard of any obstacles to allow easy access for the roofing crew and their equipment. Taking these steps will help guarantee a smooth and safe roof replacement process without causing harm to your landscaping. Additionally, it’s wise to familiarize yourself with emergency roof repair steps in case any unforeseen issues arise during the project. Being prepared can help you act quickly to address sudden leaks or damage, minimizing potential harm to your home and landscaping. By combining proactive landscaping protection with readiness for emergencies, you can ensure the roofing process goes as smoothly as possible. Furthermore, if you’re considering an eco-friendly upgrade, now might be a good time to explore green roof installation tips to enhance your home’s sustainability. Green roofs can provide added insulation, reduce water runoff, and create a thriving habitat for local plants and wildlife. Planning for such an addition during the roof replacement process can streamline efforts and optimize the overall outcome.
Conclusion
Now that you've completed the roof replacement process step-by-step, take a moment to admire the transformation your home has undergone. From the initial inspection to the final clean-up, your new roof is not only functional but also adds curb appeal to your property. Enjoy the peace of mind knowing your home is protected by a quality roof that will last for years to come. Great job!


